Uncategorized
Unloading the Kiln and Inspecting the Ware
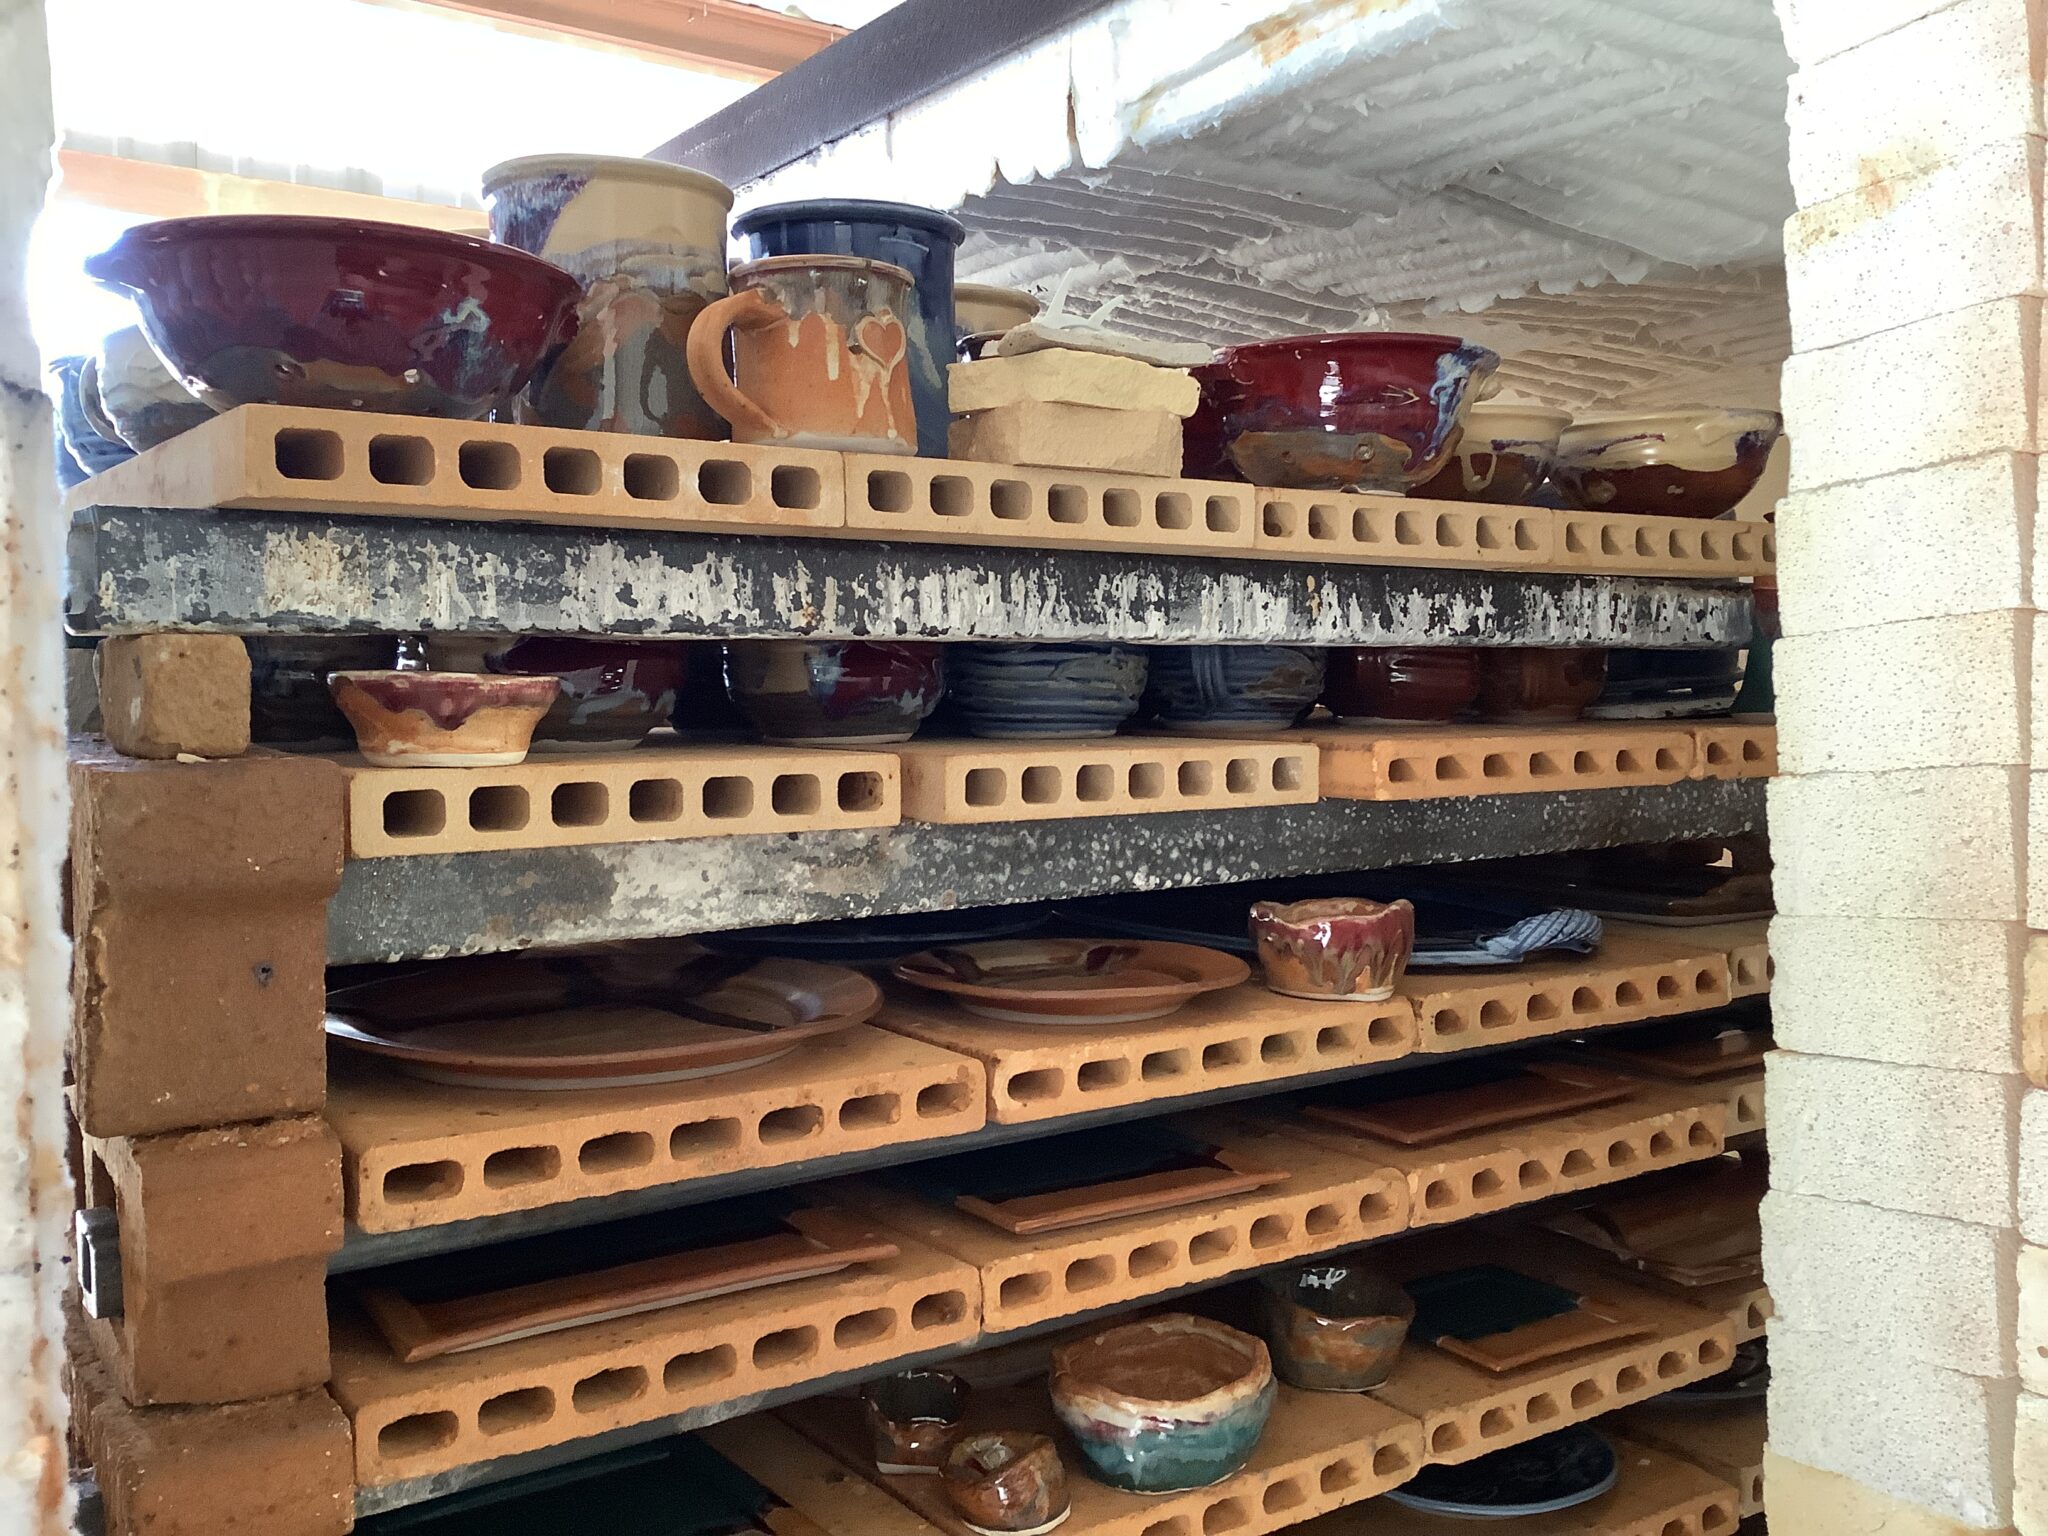
The kiln can be opened when it has cooled to about 200°. On my kiln, the door and car are all one piece that roll out together. We use clamps to hold the door tight against the kiln’s shell, so the first step to opening the kiln is removing the clamps. Then you grab the angle iron supports that steady the door and pull hard on the car. The floor of the kiln has v-groove wheels on it that set on the edge of a piece of angle iron. This keeps the kiln car rolling straight as we pull it. It begins to roll very slowly because it is heavy, and you don’t want it rolling fast anyway. It only needs to move about five feet, and the more quickly it moves, the harder it is to stop, and a quick stop causes problems.

The kiln still needs to cool a little more, so we let it sit a while, but we circle the kiln in a look but don’t touch mode. I have been burned more than once by grabbing a piece that I wanted closer for a look. We look at the finished pieces judging the firing as we go. Perhaps the copper red is a deeper and richer color than usual. Are all the glazes as mature as you expected them to be? Maybe we are testing a new glaze to see how it works in this kiln or even a glaze test series.
Step 14: Inspecting Each Piece for Flaws
When the kiln is cool enough, we begin to unload it. Inspecting each piece for flaws as we go. Any pot that we find a defect in, we set aside. It may have a crack or chip or some problem with the glaze. Perhaps something happened when the glaze was mixed, like an ingredient was impure. The fire reveals the flaws like a hairline crack that isn’t visible widens as the piece shrinks during the firing and becomes apparent when we open the kiln. The pot may have a small amount of glaze on the bottom and sticks to the shelf. The glaze may be applied too thickly and flows on the shelf during the firing, or maybe I fire the kiln a little too hot, and the glaze runs more than usual.
